How to Save Pumpkin Seeds: A Fun, Holistic Guide for Planting and Snacking
If you’re anything like me, fall isn’t just about cozy sweaters and pumpkin spice—it’s also a time to roll up your sleeves and get creative with pumpkins! Whether you’re carving jack-o’-lanterns, whipping up a homemade pumpkin puree, or simply enjoying the vibrant fall vibe, don’t let those pumpkin seeds go to waste!
Pumpkin seeds are little treasures—perfect for planting in next year’s garden and for roasting into a crunchy, nutritious snack. Let’s dive into this fun, holistic project and explore how you can save, store, and use pumpkin seeds.

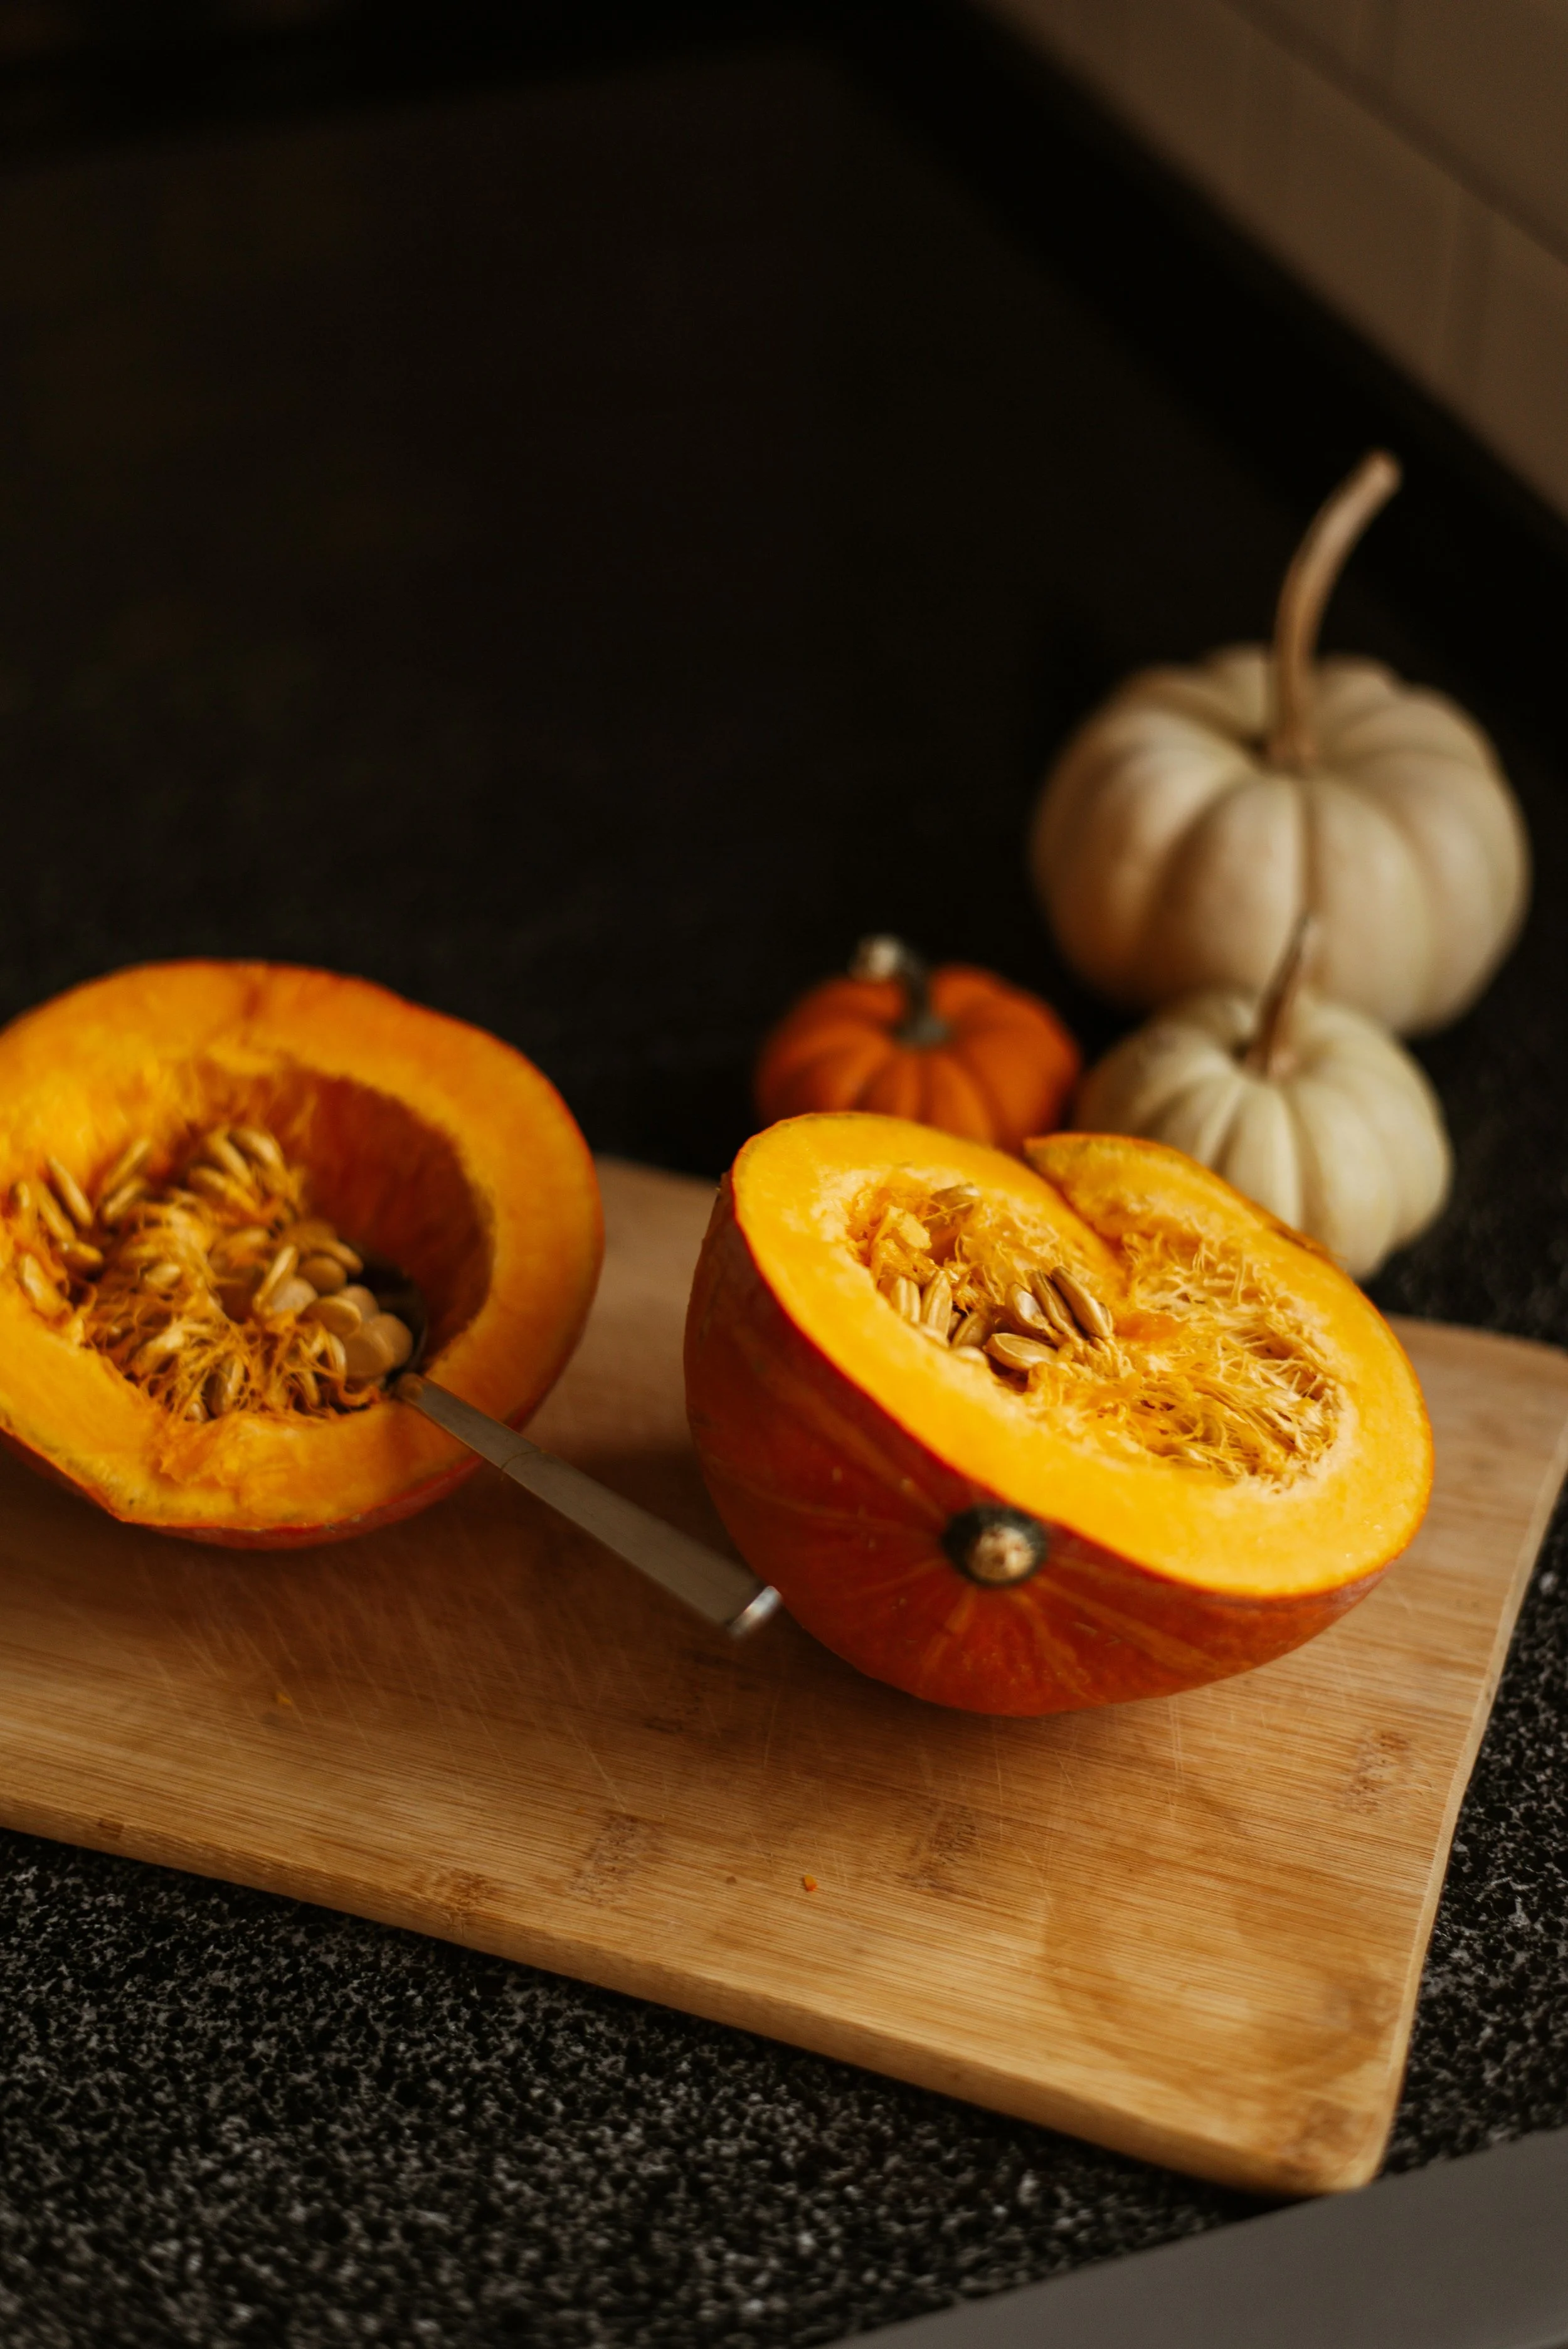
Step 1: Harvesting Your Pumpkin Seeds
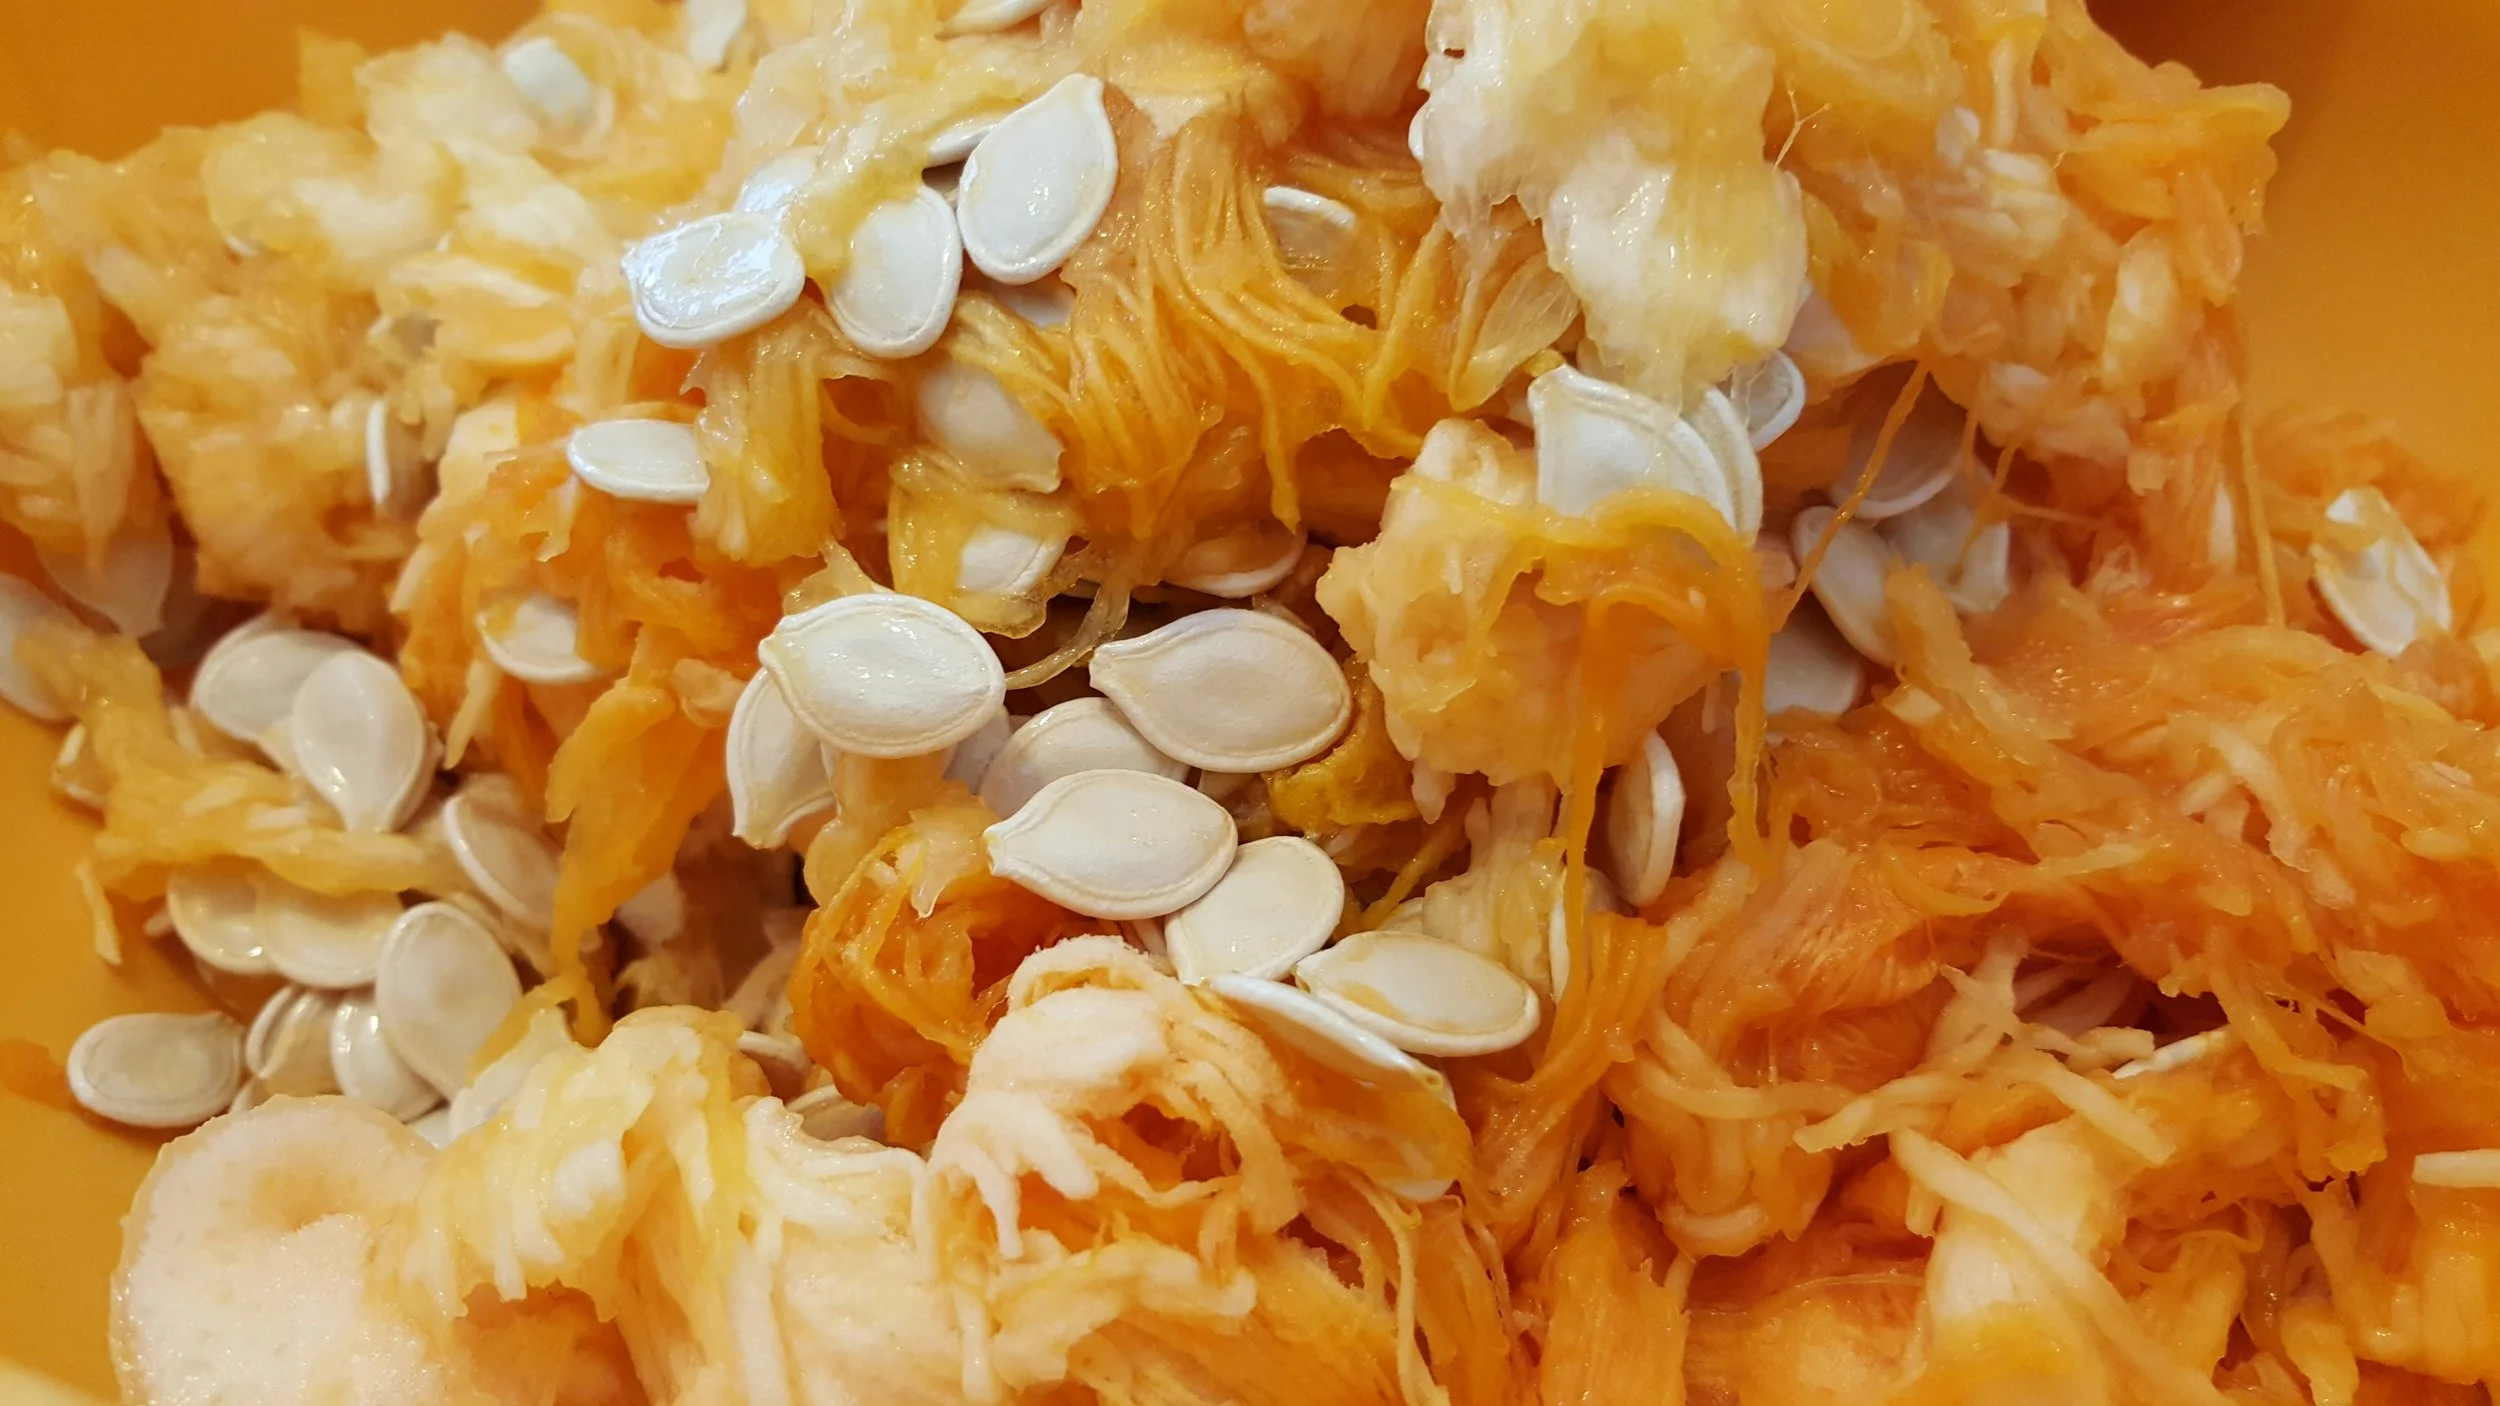
Start by slicing open your pumpkin and scooping out the seeds. If you’ve got kids or friends helping, this can be a messy but delightful part of the process! Separate the seeds from the stringy pulp as much as you can.
Pro Tip: Drop the seeds into a bowl of water, swish them around, and the pulp will float to the top, making it easy to skim off.
Step 2: Saving Seeds for Planting
Planning to grow your own pumpkins next year? Here’s how to prep your seeds for planting:
Pick the Best Seeds: Choose the largest, plumpest seeds—they’re more likely to germinate.
Rinse and Dry: Rinse the seeds thoroughly to remove all the pulp. Spread them on a clean towel or paper towel, place them by a window, and let them air dry for about a week. Flip them daily if you remember.
Store for Later: Once completely dry, store your seeds in a paper envelope (made mine out of paper grocery bags) or small cloth bag. Label it with the date and pumpkin variety (I printed photos of mine & attached to the envelope), then keep it in a cool, dry place until spring.
Step 3: Roasting Seeds for Snacking
Not all your seeds need to go into the garden. Roasted pumpkin seeds make a healthy, fiber-packed snack—and they’re so easy to make.
Rinse and Pat Dry: Give the seeds a good rinse and pat them dry with a towel.
Season to Taste: Toss with a drizzle of olive oil, a pinch of salt, and your favorite seasonings (I love smoked paprika or cinnamon for a twist).
Roast to Perfection: Spread the seeds on a baking sheet and roast at 350°F for 12–15 minutes, stirring halfway through, until golden and crispy.


Step 4: Storing Pumpkin Seeds for Snacking
If you’ve roasted more seeds than you can eat in one sitting (or you’re saving them for later), let them cool completely before transferring to an airtight container. They’ll stay fresh and crunchy for up to a week at room temperature—or longer in the fridge.
Why Save Pumpkin Seeds?
Saving seeds isn’t just fun—it’s a sustainable, budget-friendly way to make the most of your pumpkin. Growing your own pumpkins connects you to your food in such a rewarding way, while roasted seeds provide a wholesome snack packed with fiber, magnesium, and zinc.
Let’s Keep the Fun Going!
I hope this project inspires you to see pumpkins in a whole new light. If you enjoyed this guide, join my email list and follow me on social media for more fun recipes, holistic health tips, and how-to guides just like this!
Let’s make every season delicious, healthy, and just a little more creative.
